Sd.Kfz.186 Jagdtiger 3./Schwere Abteilung 653 - "Eine Fliege in Meinem Kaffee" ("A Fly in My Coffee") - March, 1945 - Two 3./Schwere Abteilung 653 Jagdtigers were abandoned on Landauer Strasse in Neustadt an
der Weinstrasse. Jagdtiger 331 was left in the middle of the street,
while Jagdtiger 323 was parked in a courtyard opposite. Both vehicles
had been abandoned due to damage to their final drives, probably as a
result of a battle in Neustadt on March 22.
Jagdtiger 331 was captured, inspected, then famously shipped to Aberdeen Proving Grounds for study, trials, and eventually public display.
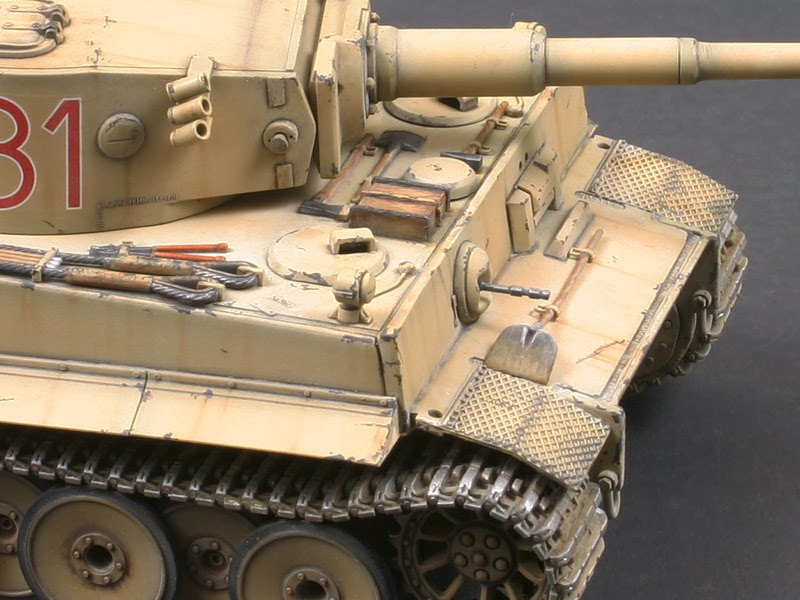
This is the Dragon 1/35 kit (#6285 - Review
Here) with Eduard Photoetch, an Eduard correct length metal barrel, Fruil tracks, Tamiya motorcycle, Verlinden cobblestone street, lamp and sidewalk, and a mix of Verlinden and Warriors figures. It was built to model the less infamous of the two Jagdtigers found in Neustadt an
der Weinstrasse, #323 which was abandoned across the street from #331.
Modifications include the removal of the front and rear mud guards (fenders), and weld beads added in the correct areas of the entire vehicle using Evergreen styrene, Tamiya cement, and a Dremel tool. The model is painted with Tamiya acrylics in an ambush scheme, and has been finished and weathered with a combination of homemade filters and washes, and MIG pigments. The figures are finished with Vallejo acrylics and Archer transfers.
With this model, I attempted to set the hypothetical scene in Neustadt an der Weinstrasse on the morning of March 22, 1945. The Jagdtigers are positioned in strategic locations in the village awaiting orders for the day. Enjoying their morning coffee, the crew of #323 visits with a Feldgendarmerie, discussing the strategic situation, when the Jagdtiger commander realizes he has a little more than he bargained for with his sugar and cream...
#331 and #323 in Neustadt an
der Weinstrasse
Jagdtiger #323
Jagdtiger #331
Jagdtiger #331
Jagdtiger #331 (Real color photo?)
Jagdtiger #331
Jagdtiger #331
Jagdtiger #331 (1950s/1960s repaint?)
Jagdtiger #331